WordPress
Maximise Efficiency with AI Creator’s WordPress Integration
Integrating AI Creator with WordPress revolutionises the way you publish content online. This integration allows you to create, edit, and post your AI-generated content directly to your WordPress site without ever leaving the AI Creator platform. Whether you're a blogger, content marketer, or website owner, this seamless connection saves you time and effort by automating the content publishing process.
Benefits of Integrating AI Creator with WordPress
- Direct Publishing: Streamline your workflow by posting content directly from AI Creator to your WordPress site.
- Time-Saving Automation: No need to copy-paste or manually upload content—everything is handled within AI Creator.
- Consistent Formatting: Ensure that your content maintains consistent formatting across your website.
- Easy Management: Manage your AI-generated content and website posts from a single dashboard.
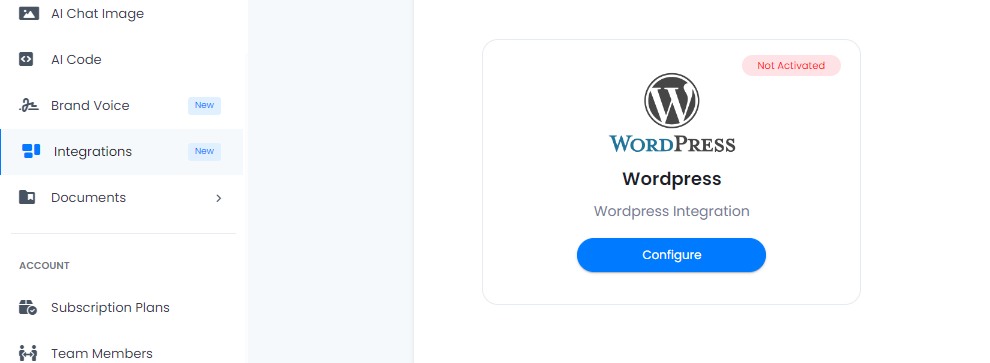
Image description: A graphic showing where to find AI Creator & WordPress integration for direct content publishing.
How to Link Your WordPress Website with AI Creator
Follow these simplified steps to integrate your WordPress website with AI Creator and start publishing content directly to your site:
Step 1: Log in to Your WordPress Admin Dashboard
Use your credentials to access the admin area of your WordPress website.
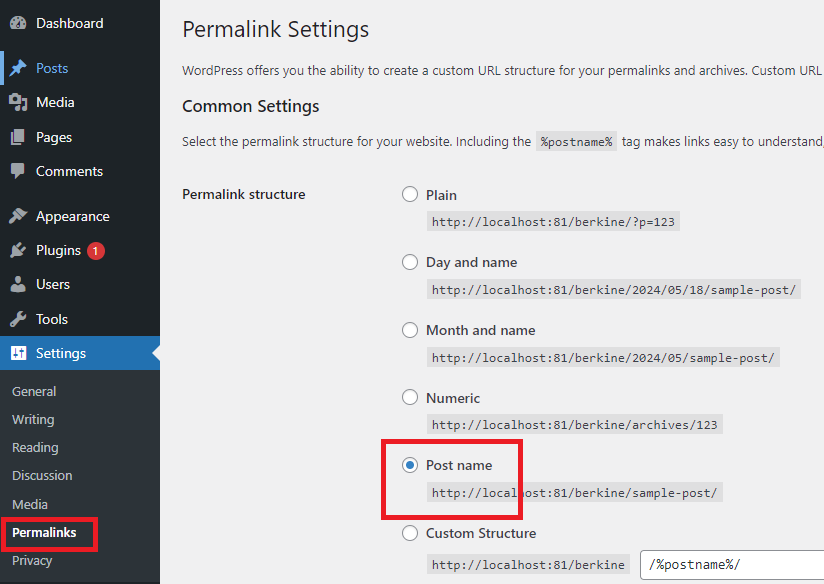
Step 2: Adjust WordPress Settings
If you have Two-Factor Authentication (2FA) enabled, temporarily disable it to streamline the setup process. Next, navigate to Settings > Permalinks and select the "Post Name" option to ensure clean URLs for your content.
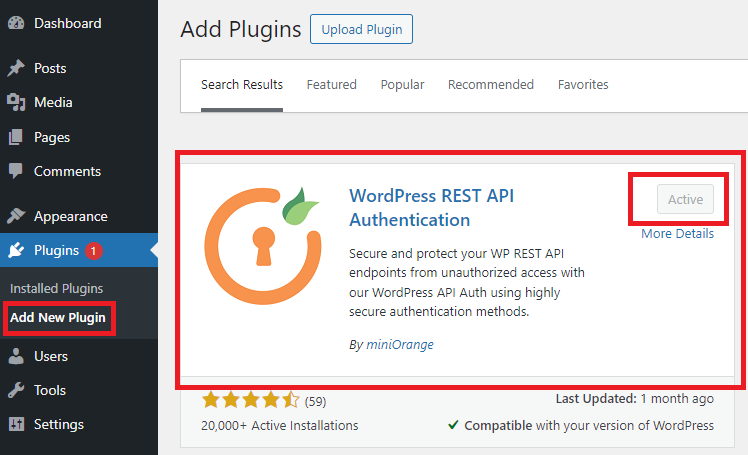
Step 3: Install the Required Plugin
Go to Plugins > Add New Plugin and search for WordPress REST API Authentication. Install and activate the plugin to allow AI Creator to communicate with your WordPress site.
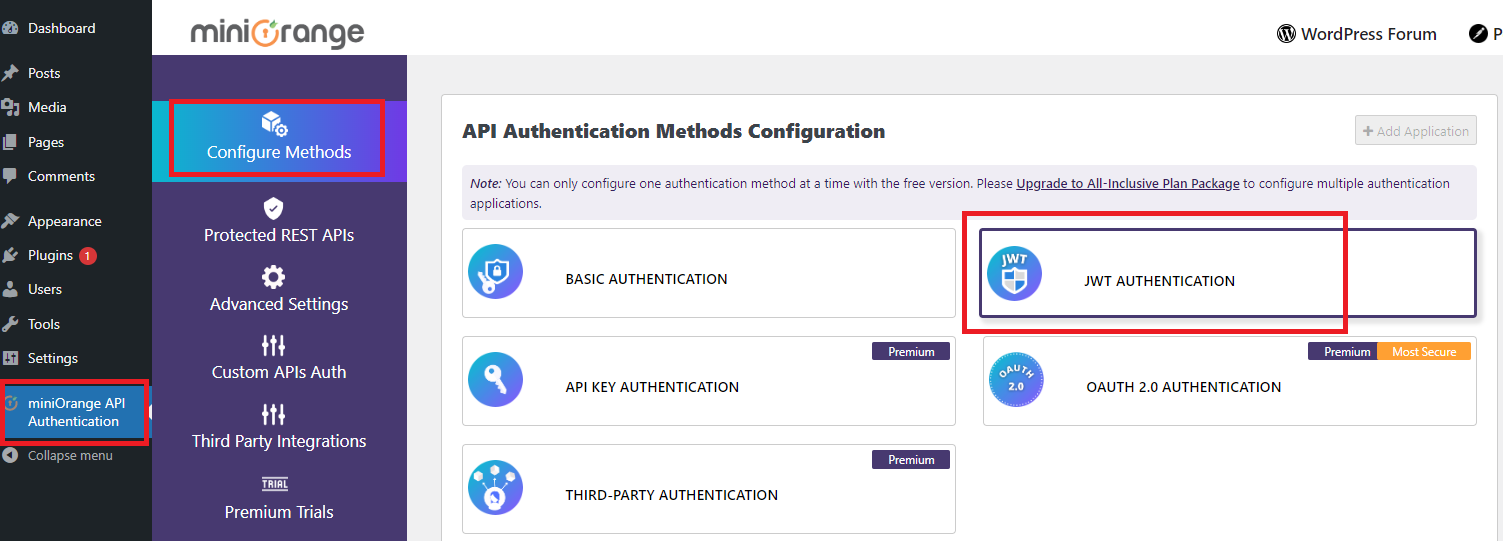
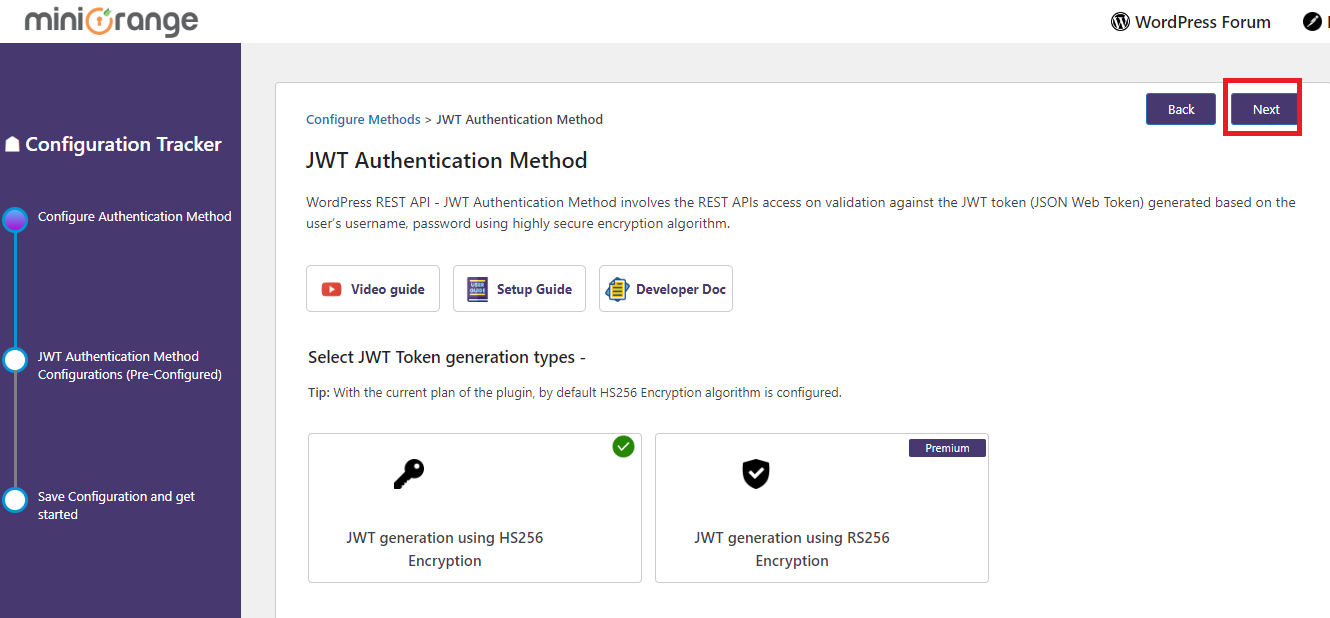
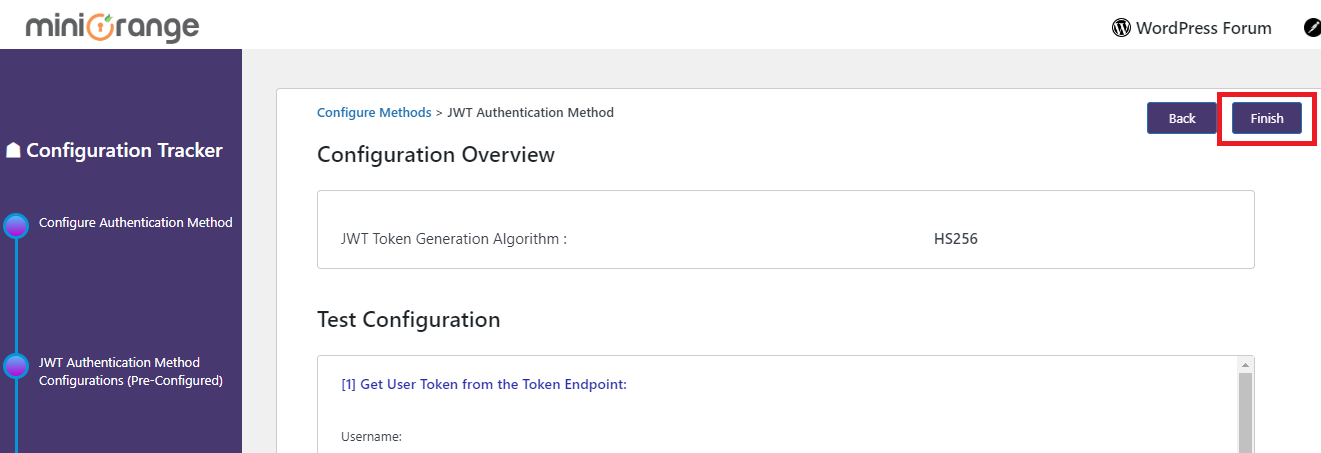
Step 4: Configure API Authentication
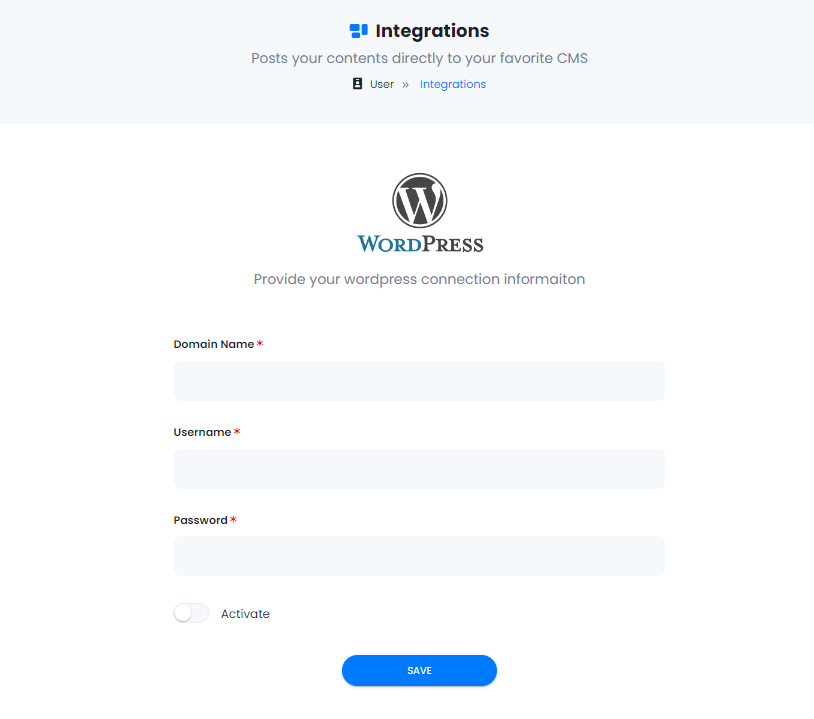
After activating the plugin, locate the miniOrange API Authentication settings in your WordPress dashboard. Select JWT Authentication and follow the prompts to complete the setup. Make sure to enter your domain name, WordPress username, and password, then activate the feature and save your settings.
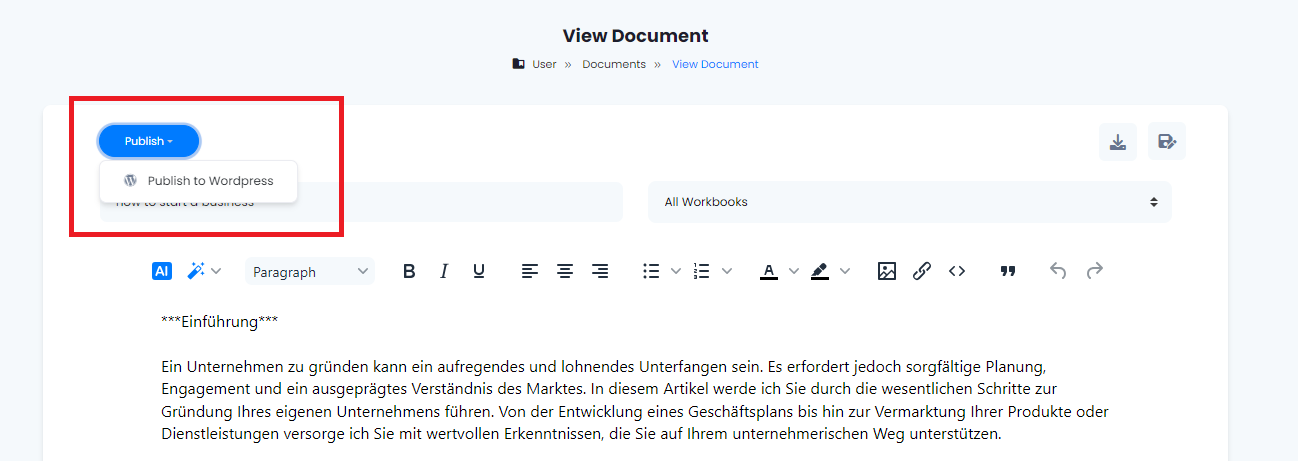
Step 5: Start Posting Content
Once the integration is complete, go back to AI Creator. Open one of your saved documents, and you’ll notice a new "Publish" button. Simply click it to post your content directly to your WordPress website.
Step 6: You're Done!
Your AI Creator account is now successfully linked with WordPress. Enjoy seamless content publishing without leaving the AI Creator platform.